Themes, scaling and layout
Light and dark themes, how the window adapts to small and high-resolution screens, the interface zoom, and the ways to give a document the whole window.
Light and dark themes
The program has a light theme, a dark theme and a high-contrast theme, and by default follows the Windows setting (Follow Windows), switching when Windows does. View > Switch theme, or Theme on the View tab, swaps between light and dark at once. Structure drawings follow the theme: in the dark theme bonds are light on a dark cell, and the heteroatom colours are lightened so that they stay legible.
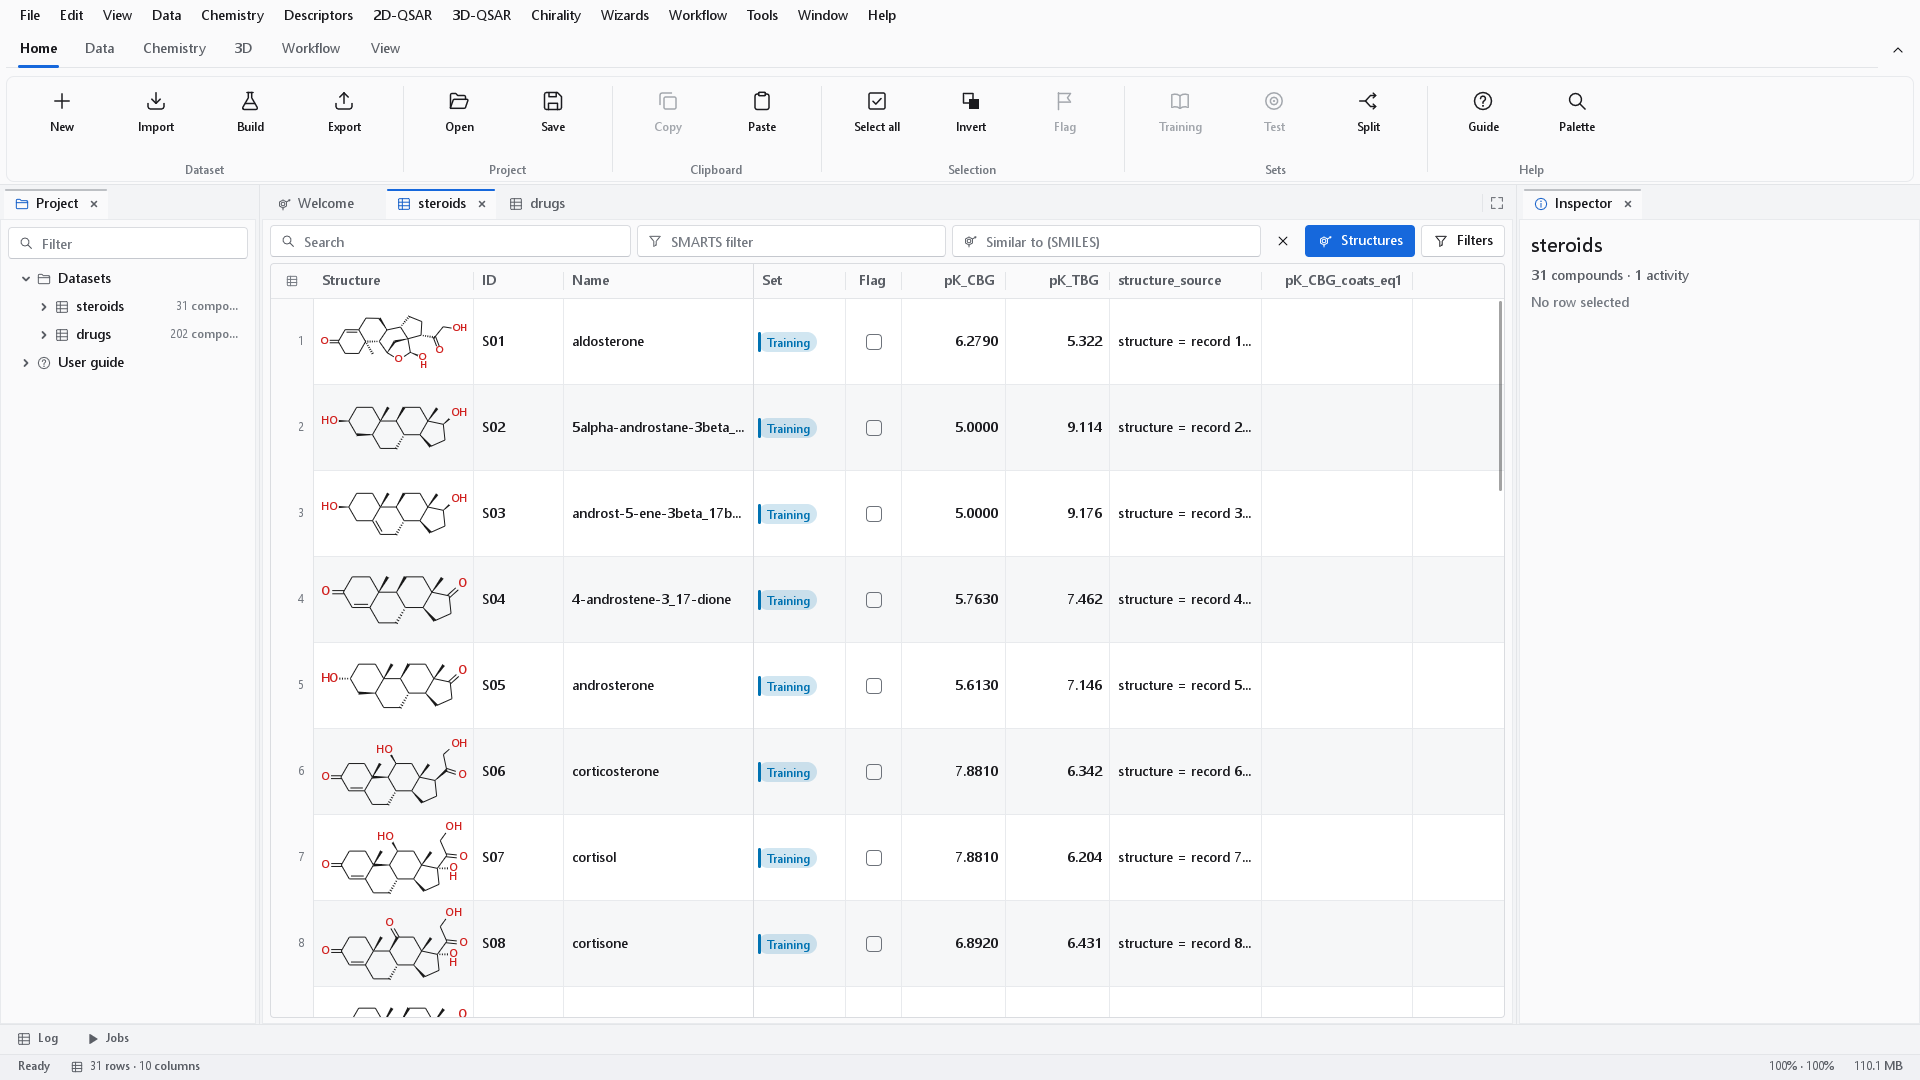
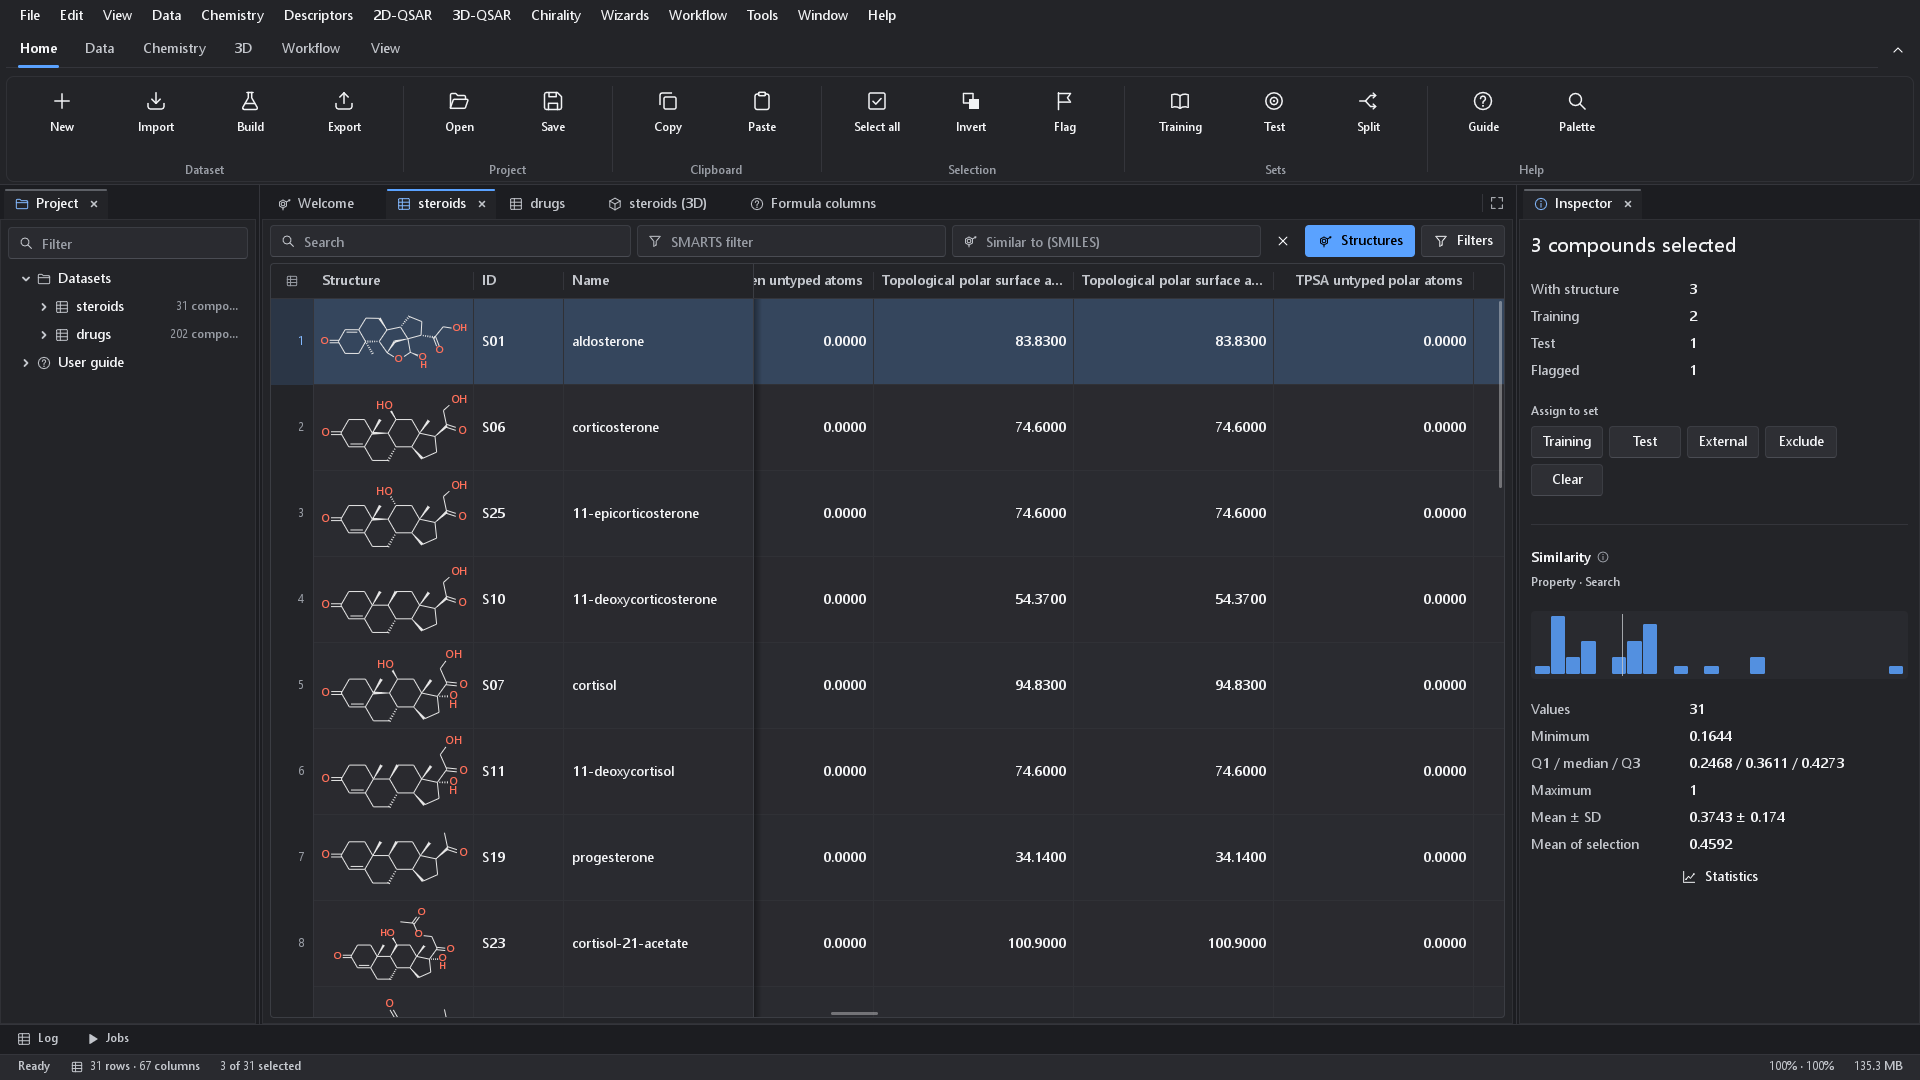
The light theme suits printed work and screenshots for documents; the dark theme suits long sessions in a dim room. Exported figures do not depend on the theme: their background and colours are chosen in the figure dialog (see Publication figures).
The Appearance settings
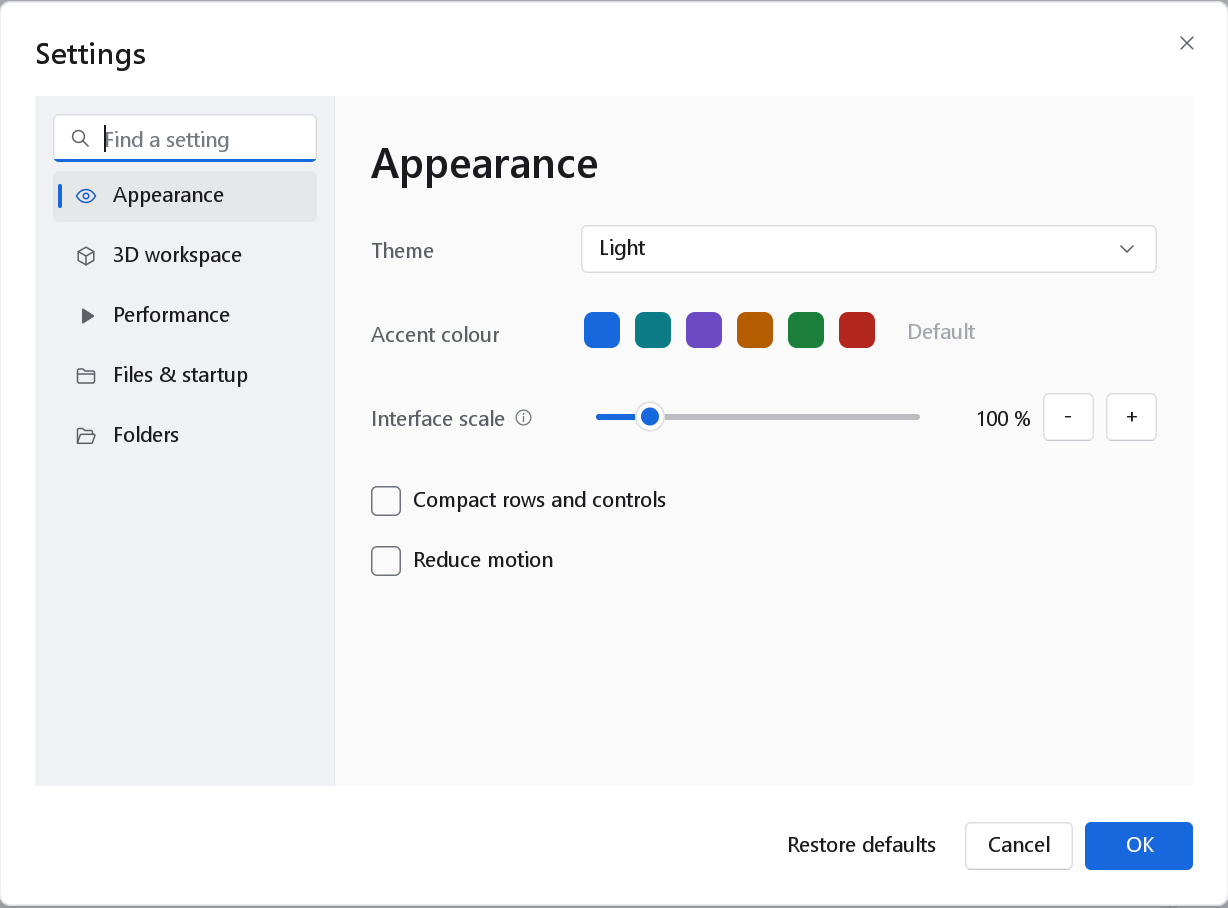
Tools > Settings (Ctrl+,) opens on its Appearance page; a click on the scale item of the status bar opens it too. Every change is applied as soon as you make it, so you see the result at once. OK keeps it, Cancel puts everything back as it was when the dialog opened, and Restore defaults returns every preference (but not your folders) to its factory value. The box at the top left, Find a setting, jumps to the page of a setting by name.
| Setting | Choices | When to change it |
|---|---|---|
| Theme | Follow Windows, Light, Dark, High contrast | High contrast is a built-in palette of the program, independent of the Windows contrast themes; when it is chosen, Dark high-contrast palette picks its dark or light variant. Its body text has a contrast ratio of at least 7:1. Use it on a projector or for low vision. |
| Accent colour | Geinforce blue, Teal, Violet, Amber, Forest, Crimson; Default returns to the theme's own | The colour of selected buttons, focus rings and links. Two copies of the program, or two users of one machine, can be told apart by it. |
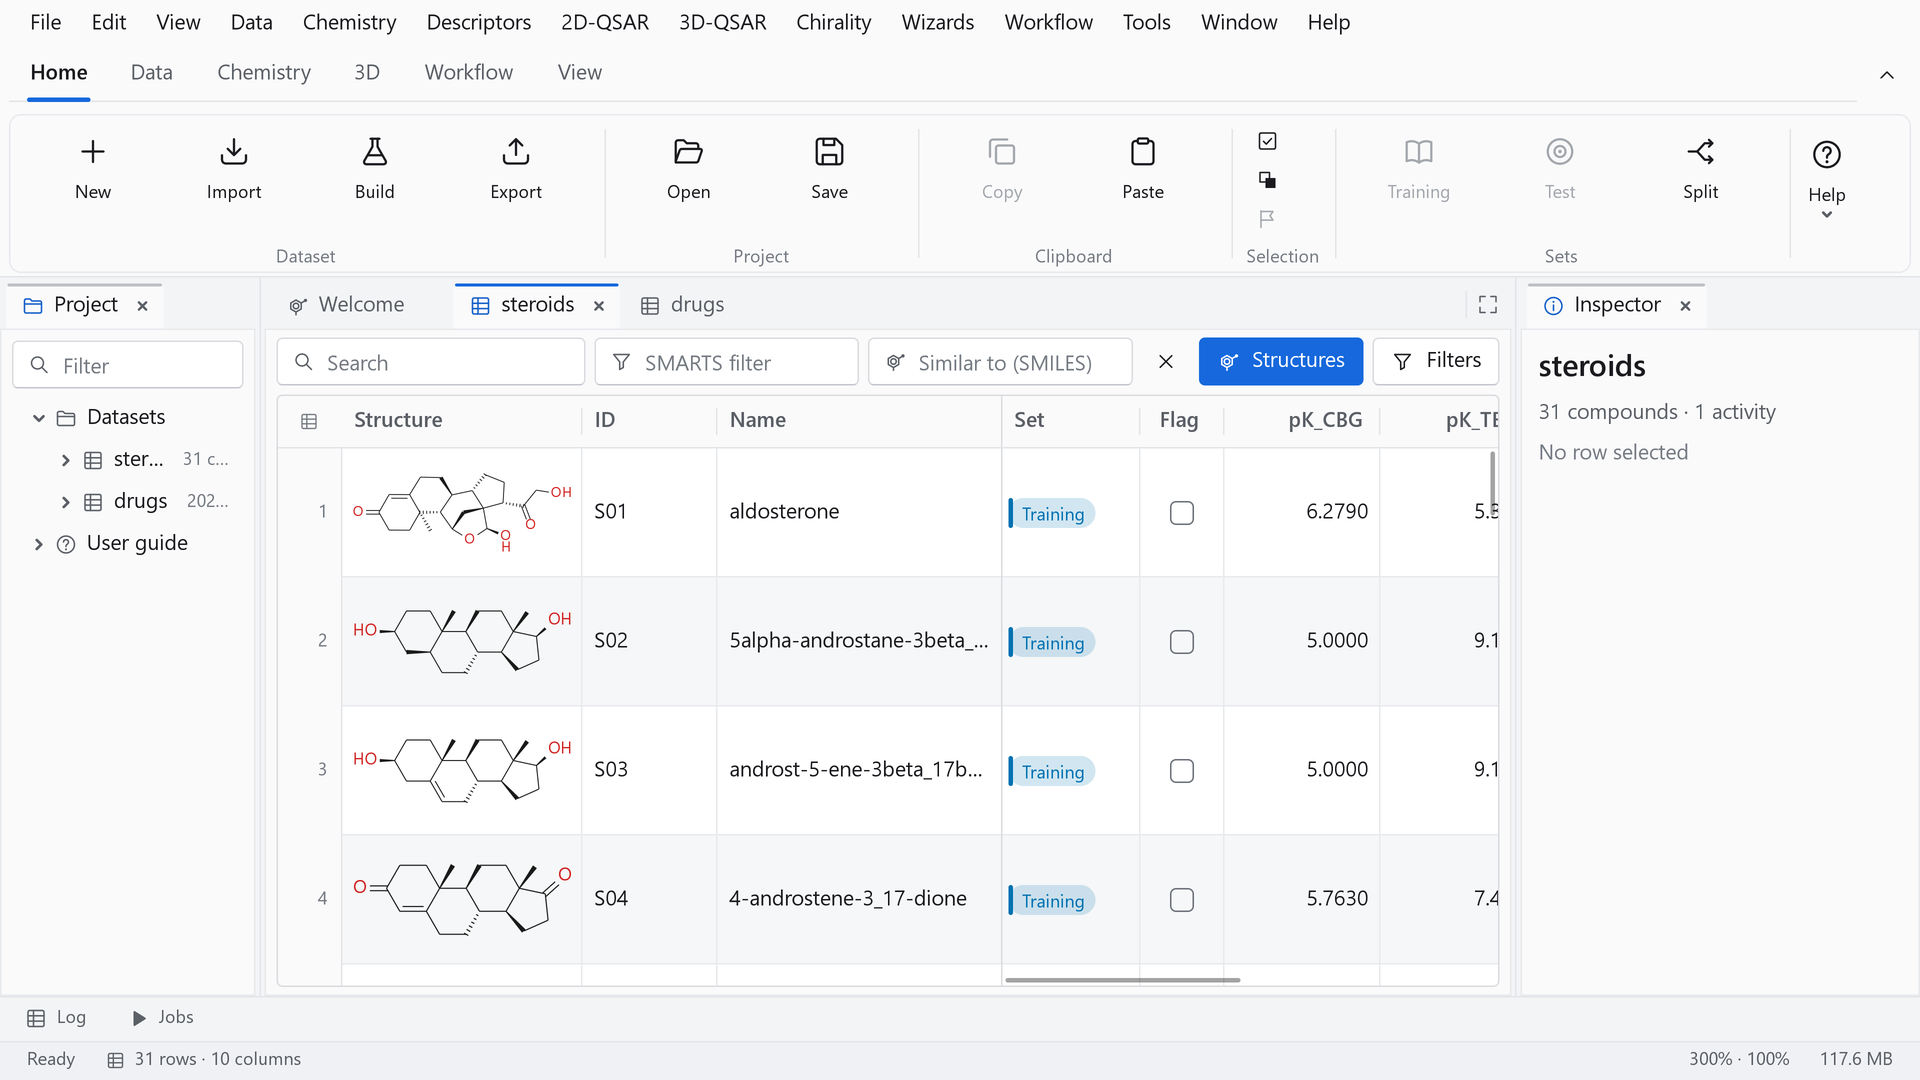
| Interface scale | 80 to 200 per cent in steps of 5 | Enlarges every control on top of the Windows display scaling; the layout stays the same. The - and + buttons move between 80, 90, 100, 110, 125, 150, 175 and 200 per cent. |
| Compact rows and controls | On or off | Smaller row heights and padding, so more rows fit. Useful on a laptop panel. |
| Reduce motion | On or off | Sets the duration of every transition and animation to zero, for users who find movement on screen distracting. |
Interface zoom
Ctrl+= and Ctrl+- step the interface scale up and down through the same steps as the settings buttons, Ctrl+0 returns to 100 per cent, and the status bar confirms the new value. The zoom multiplies the Windows display scaling: on a monitor scaled to 150 per cent, an interface scale of 125 per cent draws the program at about 188 per cent. Use the zoom when you want the program larger than the rest of Windows, for example to present it.
Small windows and high-resolution displays
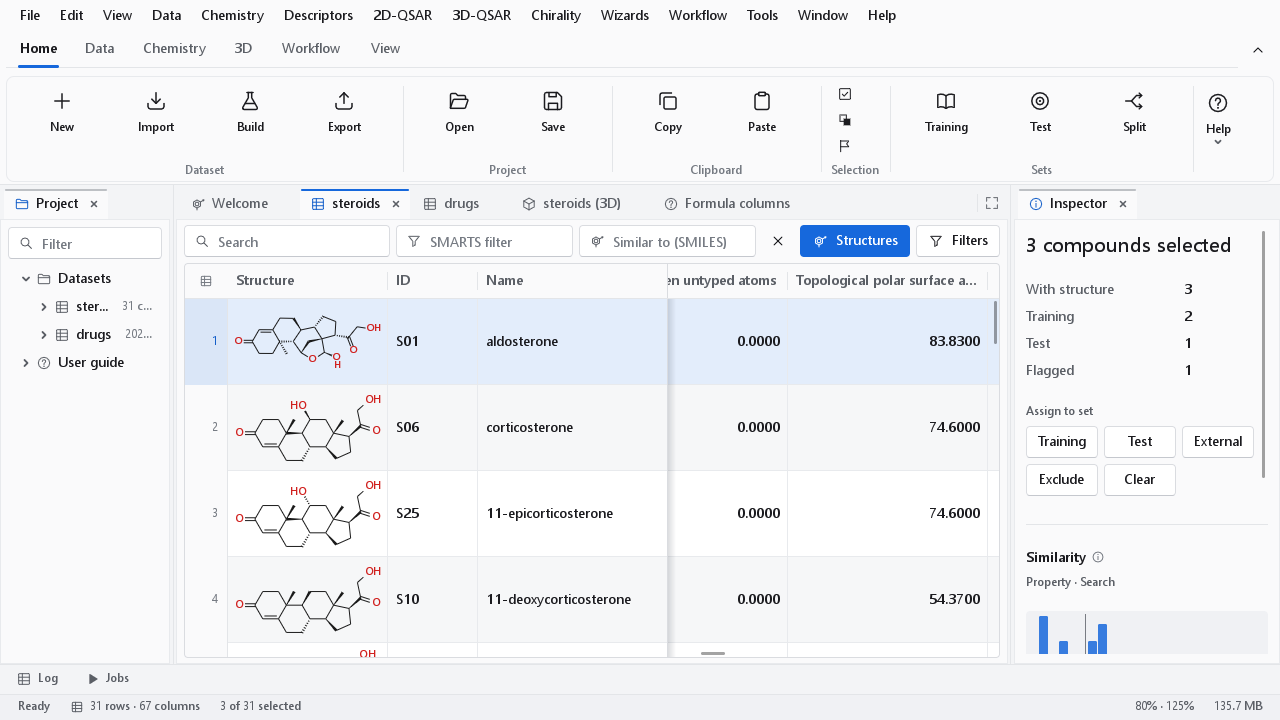
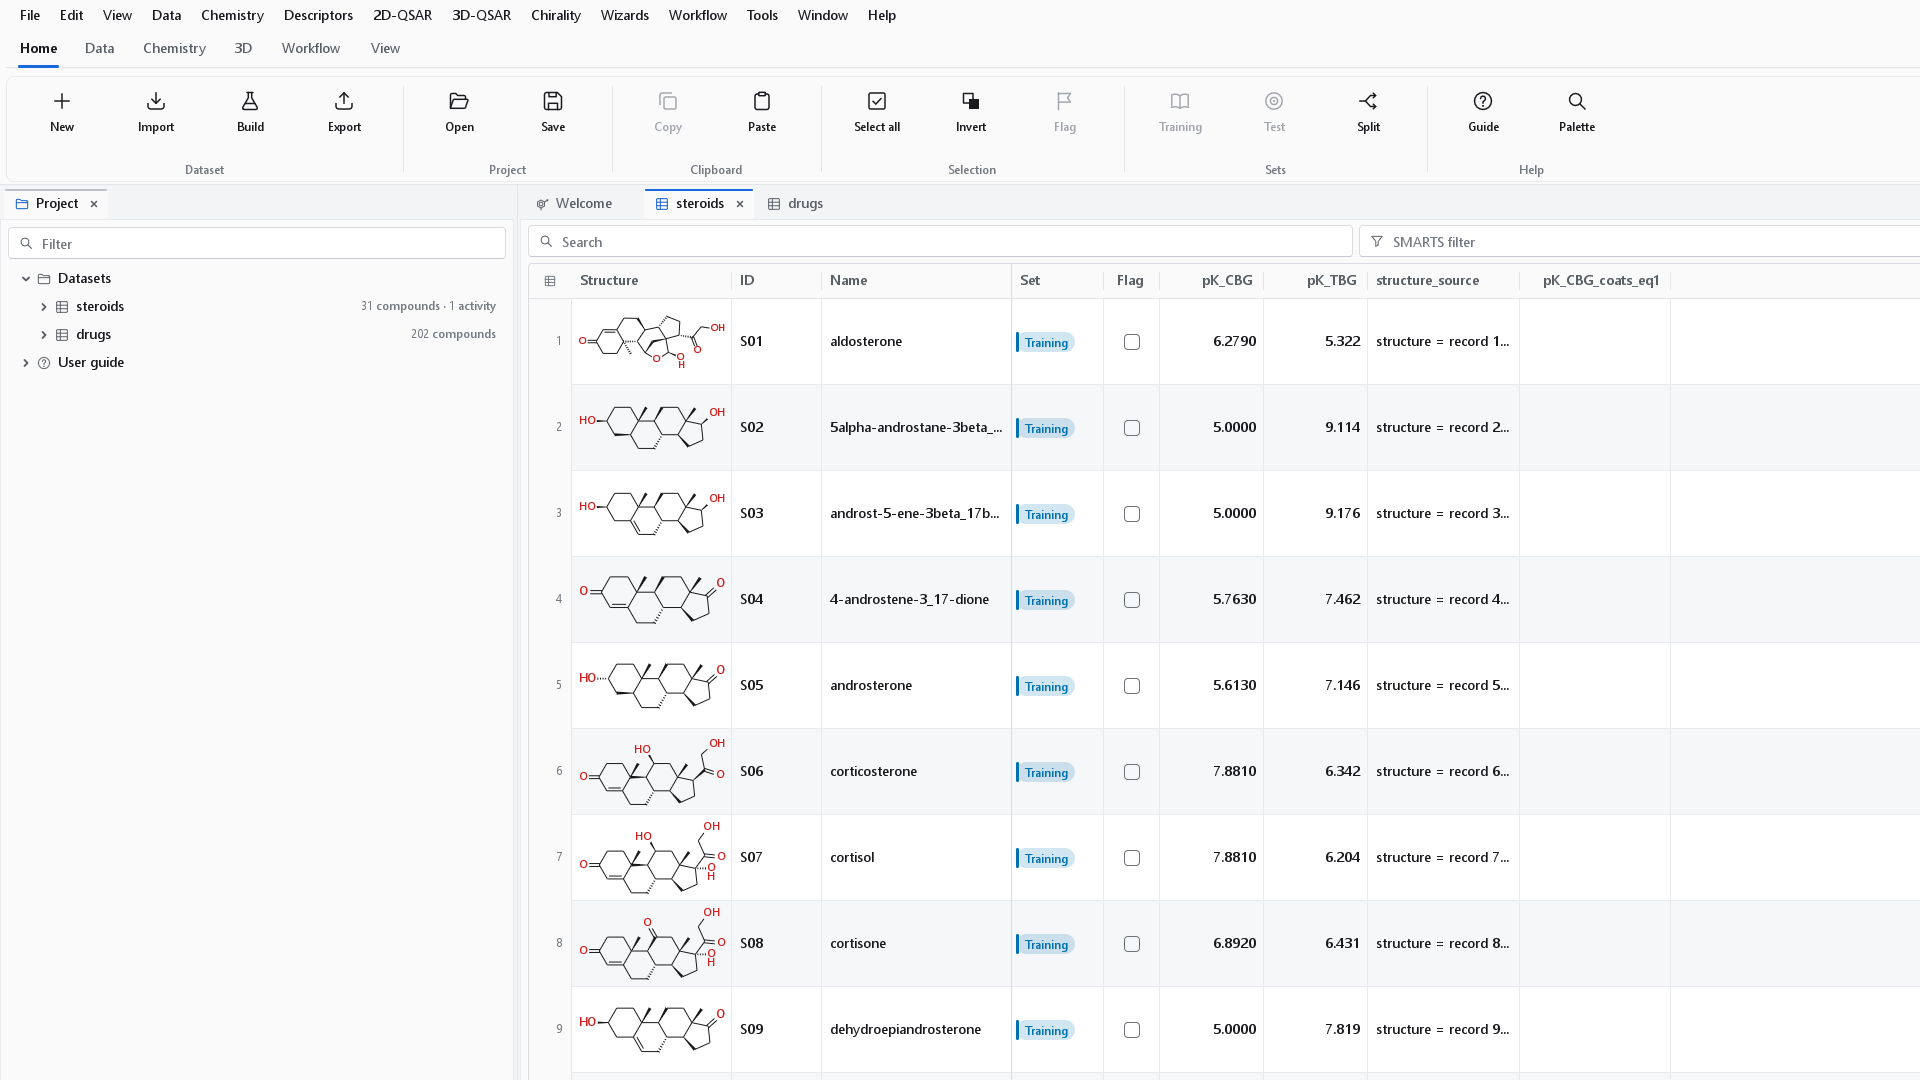
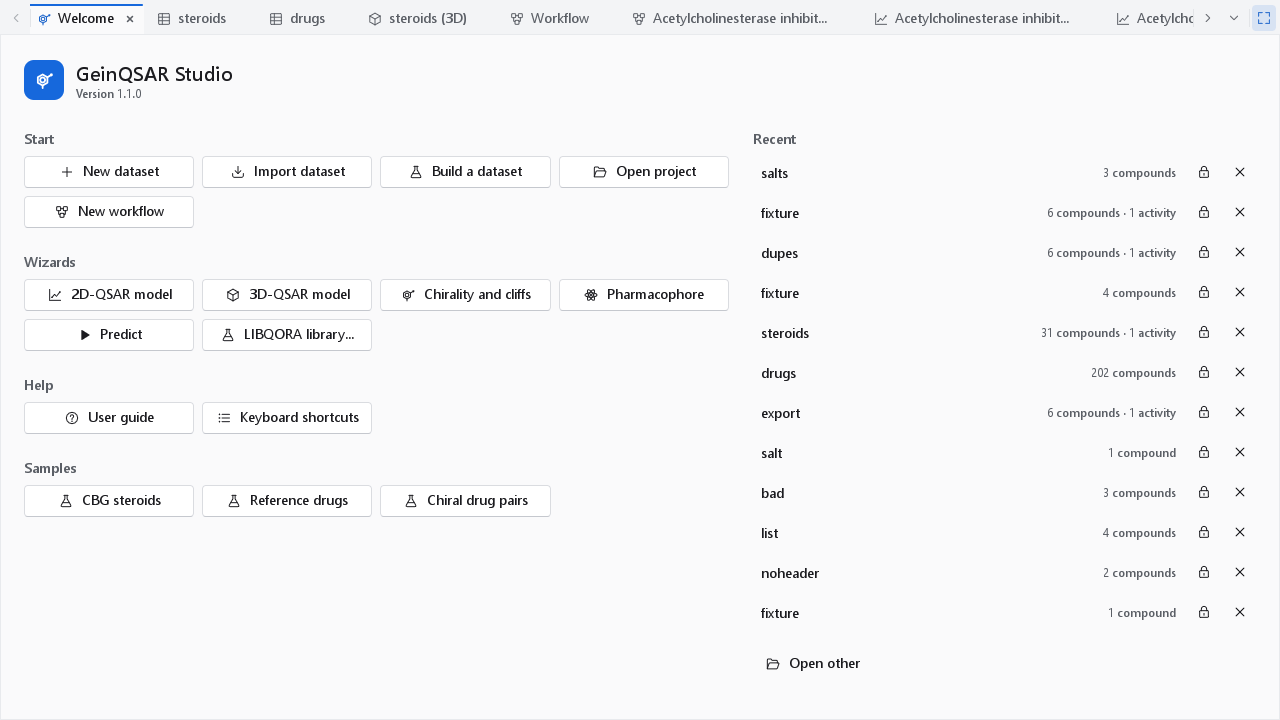
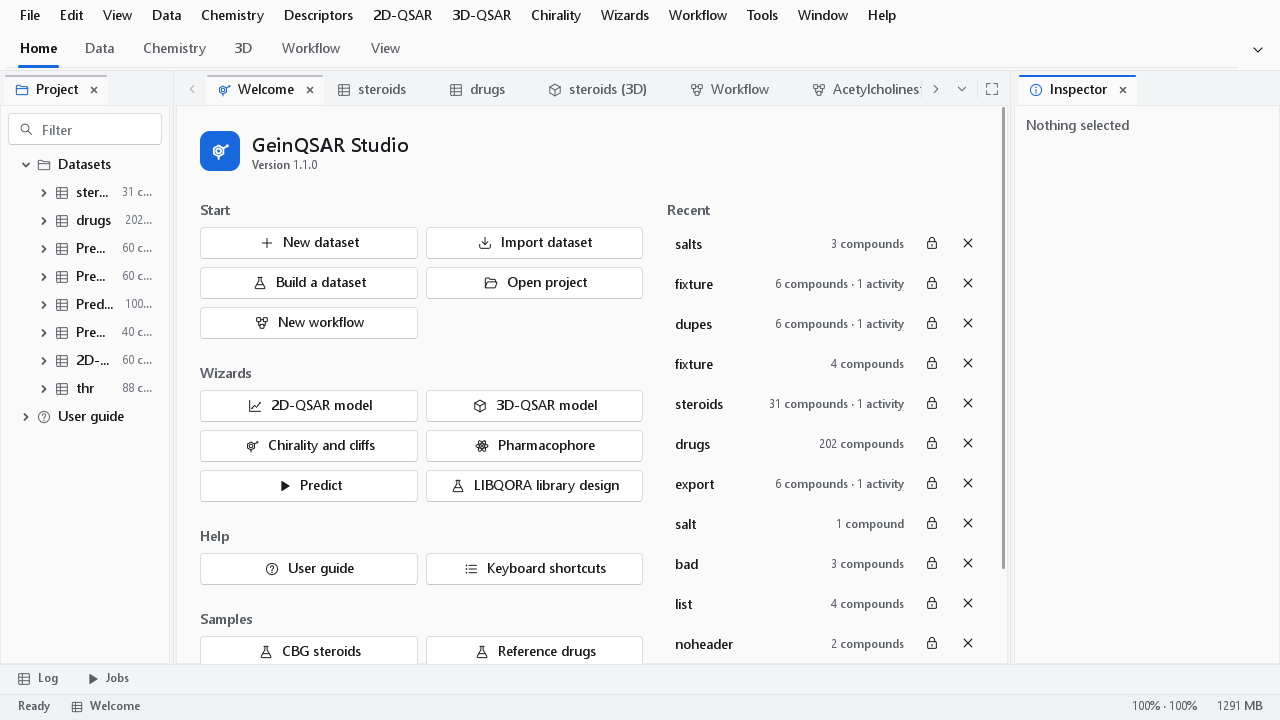
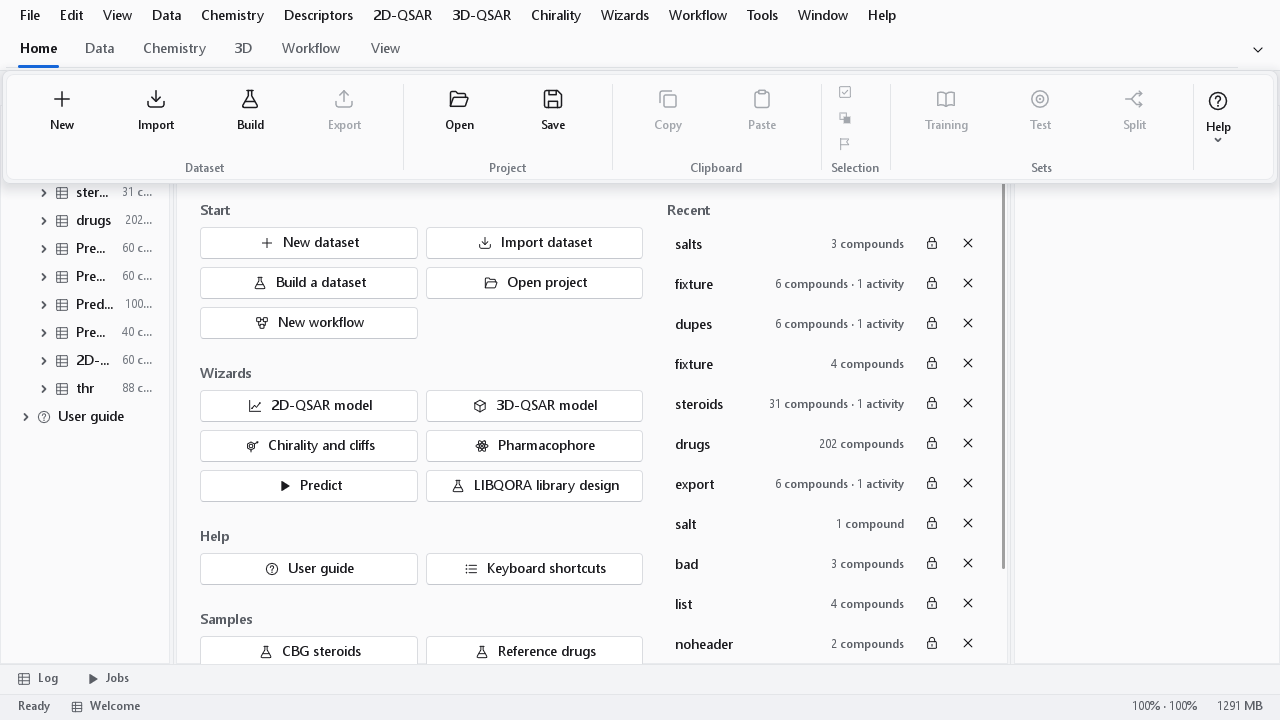
The window is laid out in device-independent units and follows the scaling of the monitor it is on, including when it is dragged to a monitor with a different scaling. Its smallest supported size is 1024 x 640 at any scaling. Below 1100 x 700 (in units at 100 per cent) the ribbon is replaced by a single toolbar row: a drop-down with the name of the ribbon tab, followed by that tab's commands, which drop their labels and finally move into an overflow menu as the width shrinks. The full ribbon would take a fifth of such a screen before any document appears.
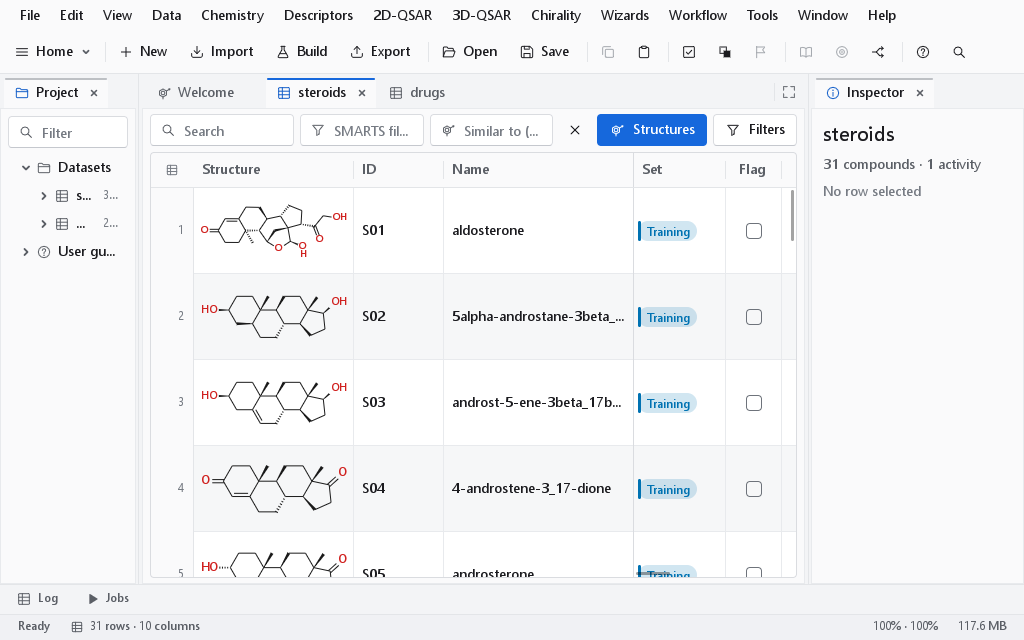
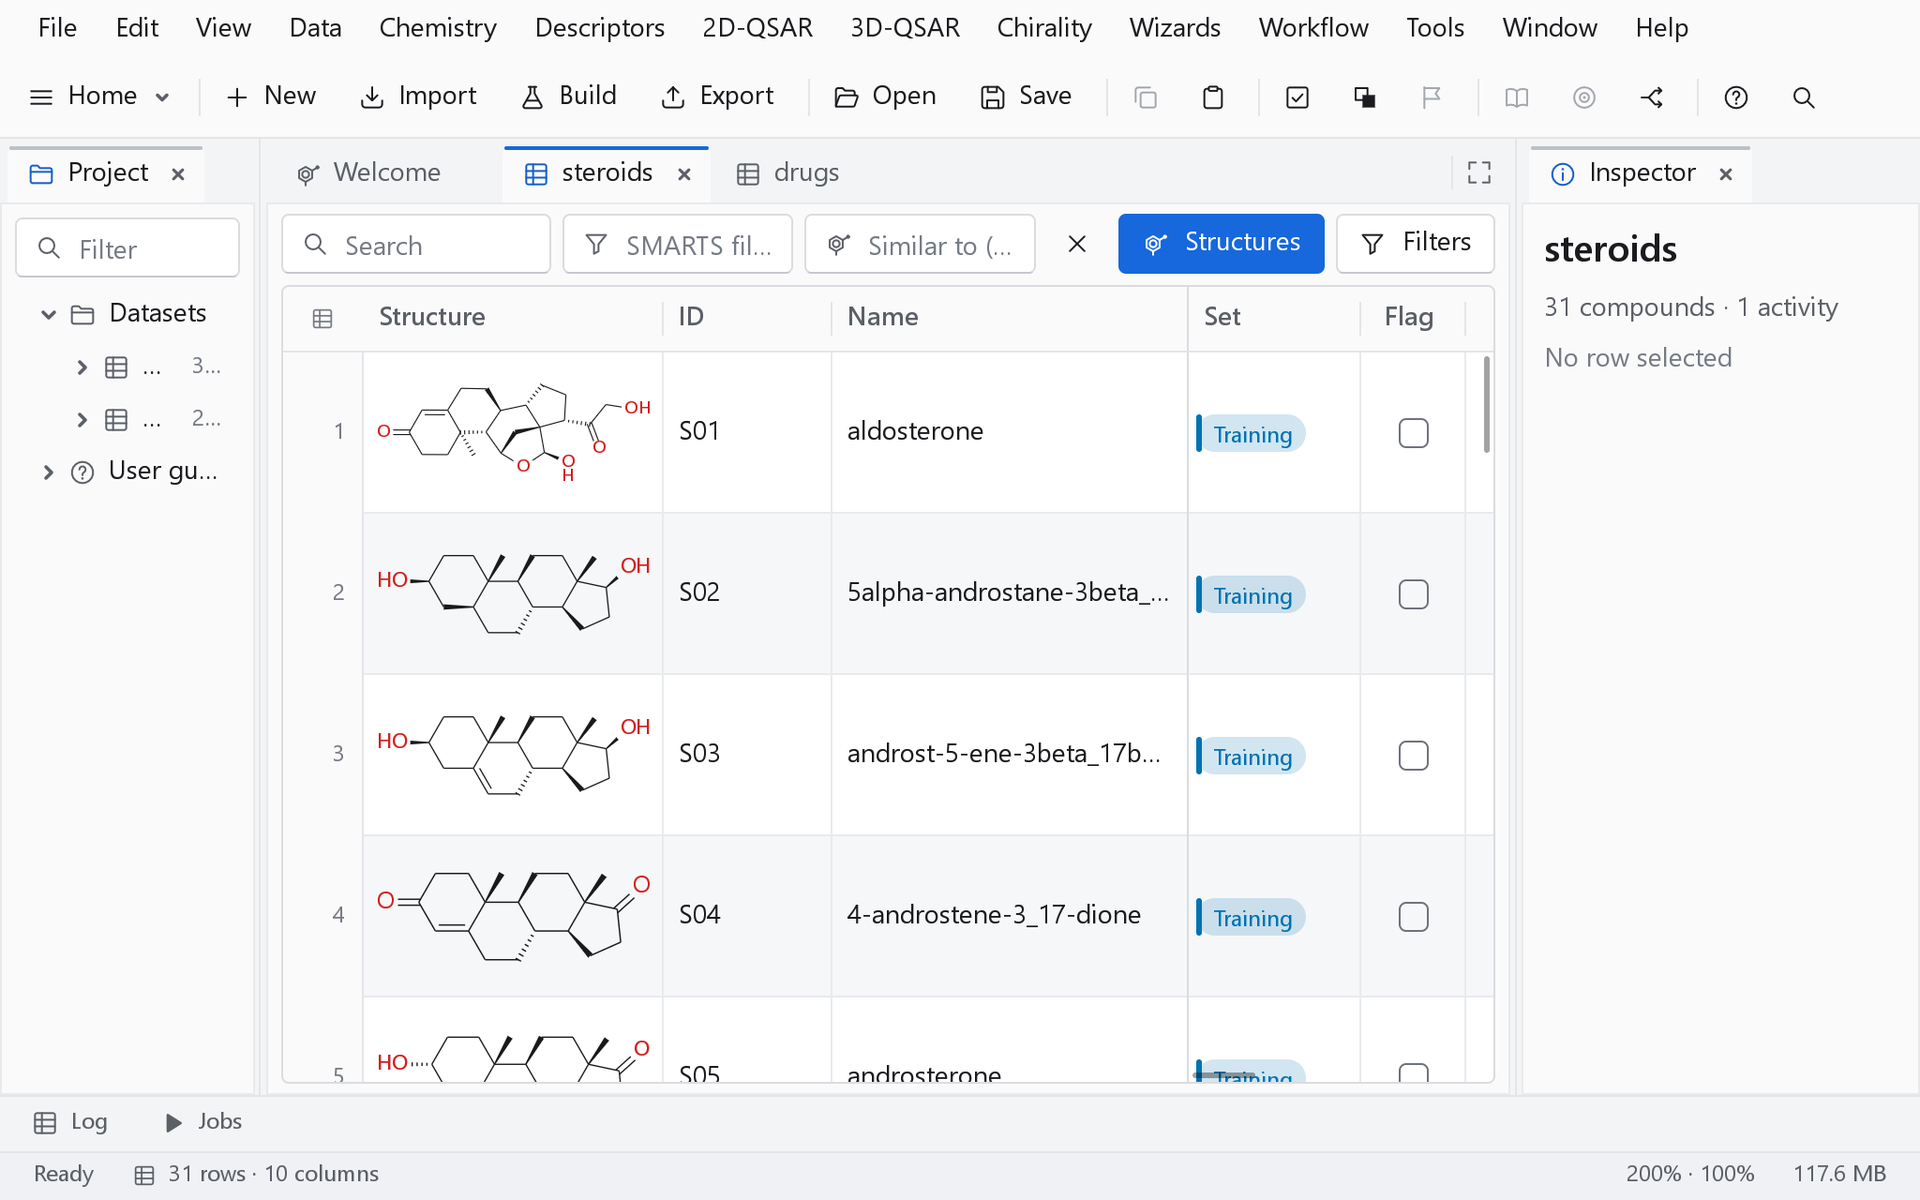
At larger sizes the full ribbon returns, and the extra space goes to the documents. The scaling of the display changes the sharpness, not the layout: a window of 1280 x 720 units looks the same at 100 and at 200 per cent, but the second has four times the pixels.
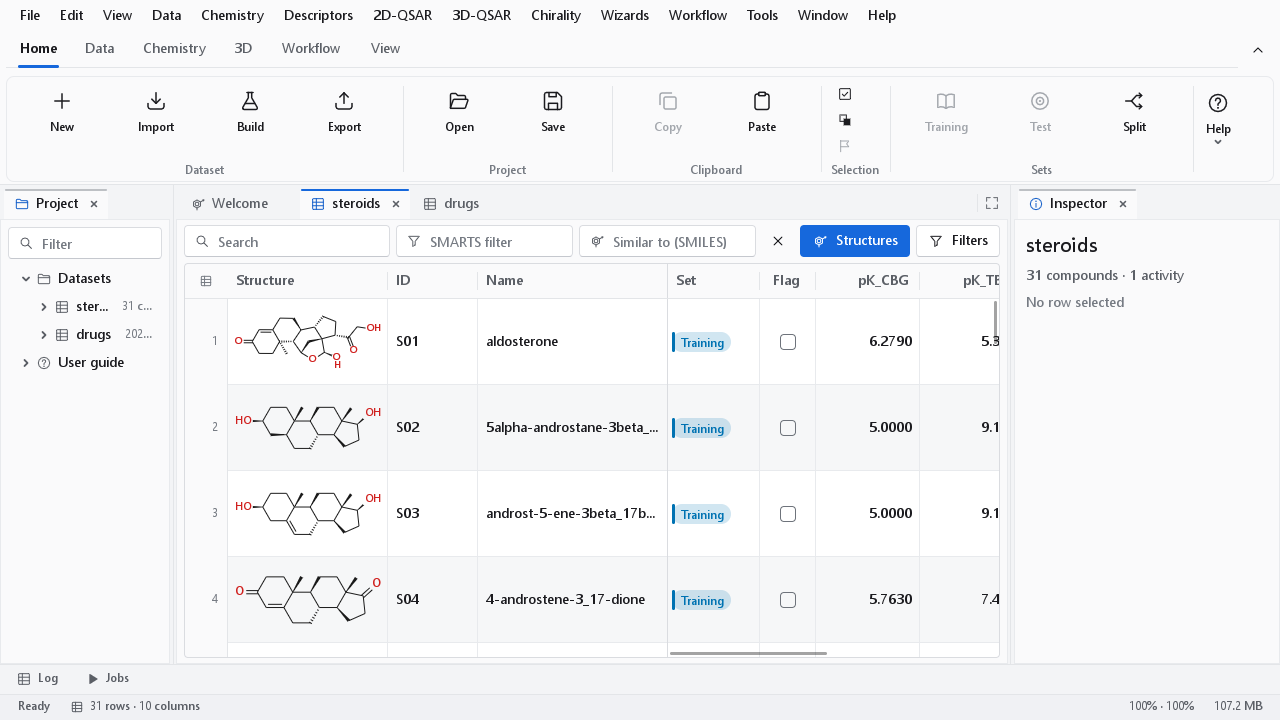
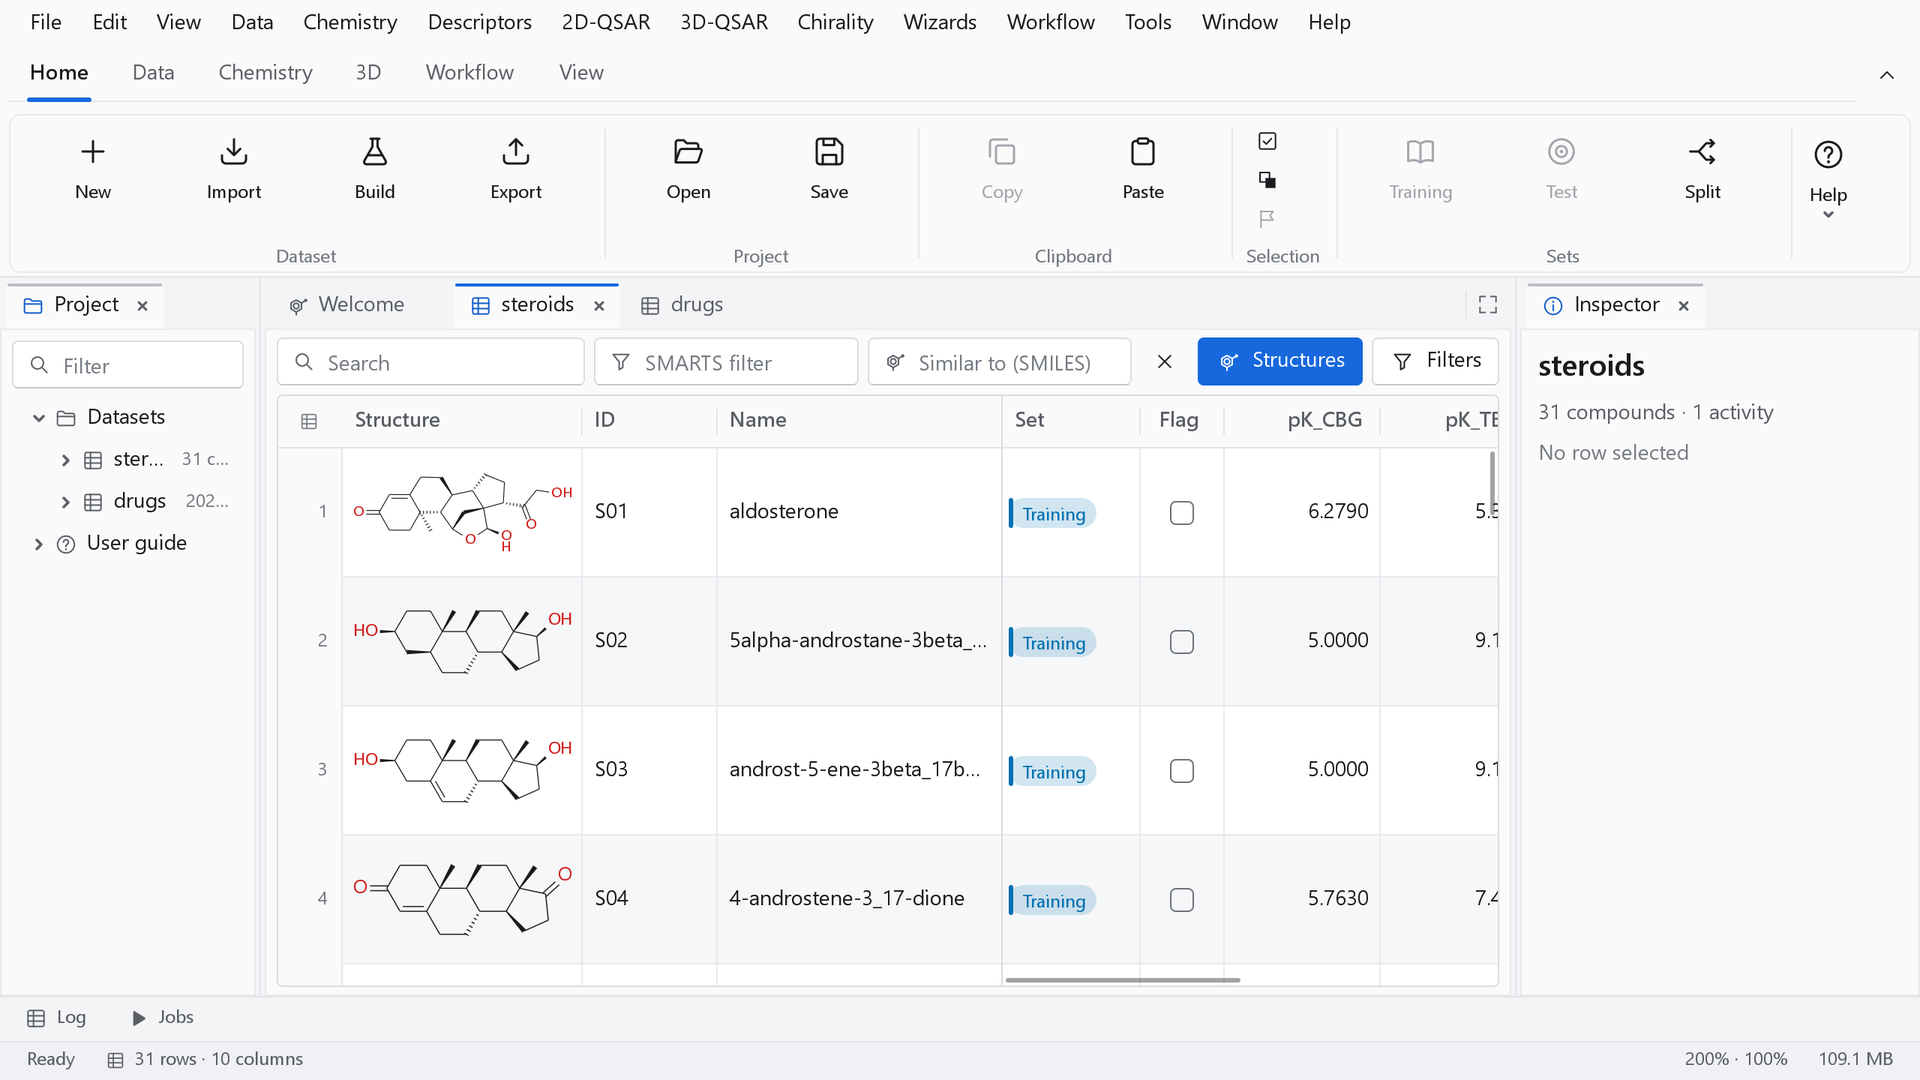
On a 4K monitor the Windows scaling matters most. At 100 per cent the program uses the 3840 x 2160 pixels as space and every element is small; at 300 per cent it uses them as resolution.
Giving the document the window
| Action | Effect | Back |
|---|---|---|
| F11, View > Focus mode, or the button at the right end of the document tabs | The menu bar, the ribbon, the panels and the status bar are hidden; the document tabs and the active document fill the window. | Esc or F11. Asking for a panel (Ctrl+B, for example) also ends the mode. |
| Ctrl+F11, View > 3D view full screen | Only the 3D view of the active document (a 3D workspace or a 3D dashboard) is shown, on the whole screen. | Esc |
| Shift+F11, Window > Window full screen | The window covers the whole screen, with its own layout unchanged. | Shift+F11 |
| Ctrl+F1, a double click on a ribbon tab, or the chevron at the right end of the tab row | The ribbon is reduced to its tab row. A click on a tab opens its commands as an overlay that closes after use. The choice is remembered. | The same again. |
Arranging the panels
The panels are docked, and can be rearranged the way a laboratory bench is: the arrangement is saved when the program closes and comes back at the next start (unless Restore the window layout is unticked in Settings > Files & startup).
- Drag the splitter between two regions to resize them.
- Drag a panel by its tab to another edge or into another group; drop markers show where it will land.
- Right-click a panel tab for Close, Close other tabs, Float (a separate window, useful on a second monitor), Collapse to side bar, Maximize group and Dock to the left, right or bottom edge or the document area. A floating panel has Dock back.
- A panel collapsed to a side bar becomes a button on the window edge, as Log and Jobs are in the factory arrangement; the button opens it as a flyout, and the lock icon in the flyout's header docks it again.
- View > Reset layout, or Reset on the View tab, returns to the factory arrangement.