The 3D viewer
Moving around the structure, the ten representations and eighteen colour schemes, measuring, and producing a figure worth printing.
The panel in the centre of the window is a full molecular viewer rather than a preview. Everything you load or compute is drawn there, and it can be selected from, measured on, restyled and exported without leaving the application.
Moving around
| Action | What it does |
|---|---|
| Drag with the left button | Rotates the structure. |
| Drag with the middle button | Pans. |
| Roll the wheel | Zooms. |
| Right click | Opens the context menu for whatever is under the cursor. |
| Esc | Clears the current selection. |
| Del | Deletes the selected atoms. |
The context menu
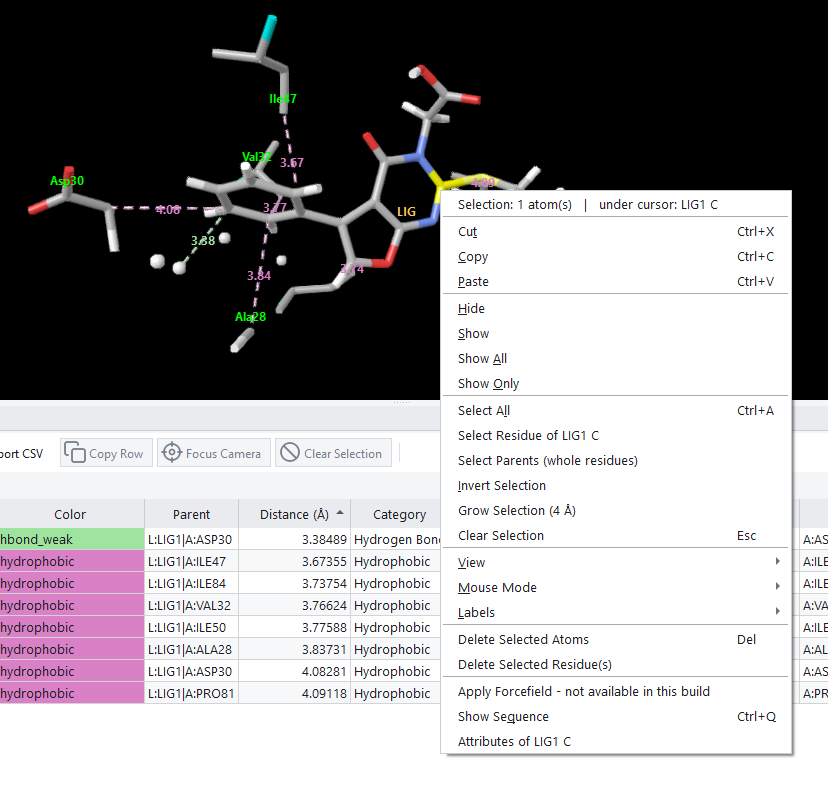
Right clicking is the fastest route to almost everything the viewer can do. The first line of the menu reports how many atoms are selected and names the atom under the cursor, so you always know what the commands beneath it will act on.
| Group | What it holds |
|---|---|
| Clipboard | Cut, copy and paste, which work on selections of atoms. |
| Visibility | Hide, show, show all and show only, which is the quickest way to isolate a region. |
| Selection | Select all, select the residue under the cursor, expand a selection to whole residues, invert it, grow it by a distance, or clear it. |
| View | Fit to screen, centre on the selection, zoom to the selection, switch to orthographic projection, toggle bond display and reset clipping. |
| Mouse Mode | What dragging does, including the marquee and lasso selection modes. |
| Labels | What the viewer writes beside atoms and residues. |
| Attributes | Everything the file records about the atom under the cursor. |
Representations
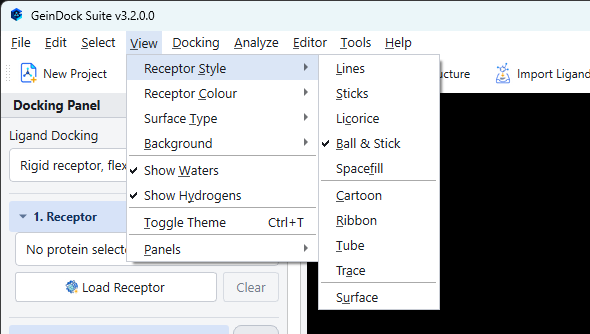
View › Receptor Style offers ten ways of drawing the structure. The right choice depends entirely on what you are trying to see.
| Style | What it shows | Use it for |
|---|---|---|
| Lines | Bonds as thin lines, no atoms. | Very large structures, where anything heavier obscures everything. |
| Sticks | Bonds as cylinders. | Looking at a binding site in detail. This is the usual choice for residues around a ligand. |
| Licorice | Thicker sticks with rounded joints. | The same job as sticks in a figure that will be reduced in size. |
| Ball & Stick | Atoms as spheres joined by cylinders. | A small molecule on its own, where individual atoms matter. |
| Spacefill | Atoms at their van der Waals radii. | Showing how completely a compound fills a pocket, and whether anything can get past it. |
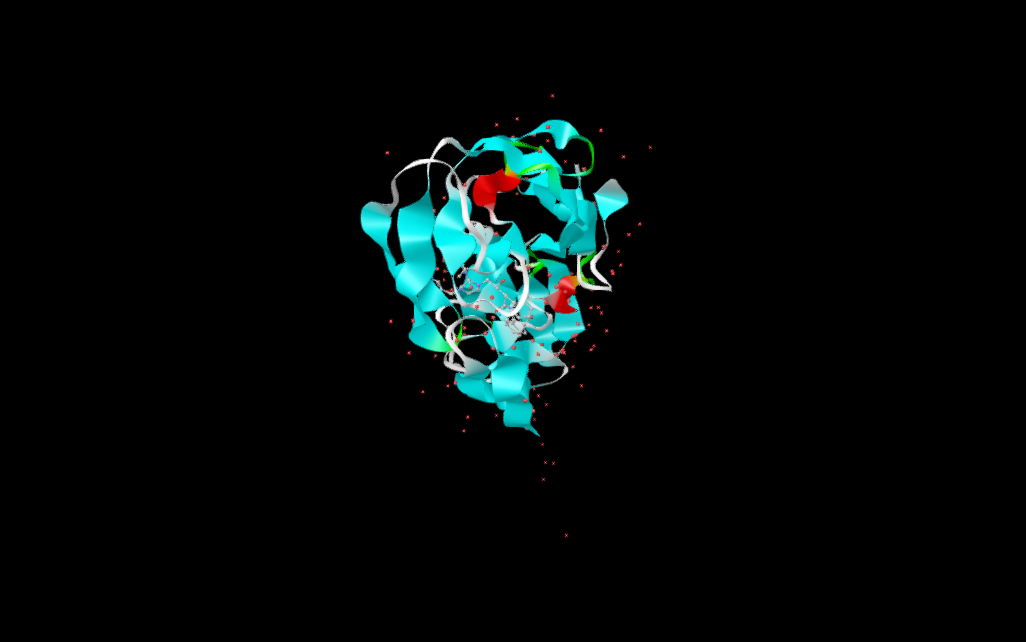
| Cartoon | Secondary structure as ribbons and arrows. | The default for a protein, and the right choice for showing the fold. |
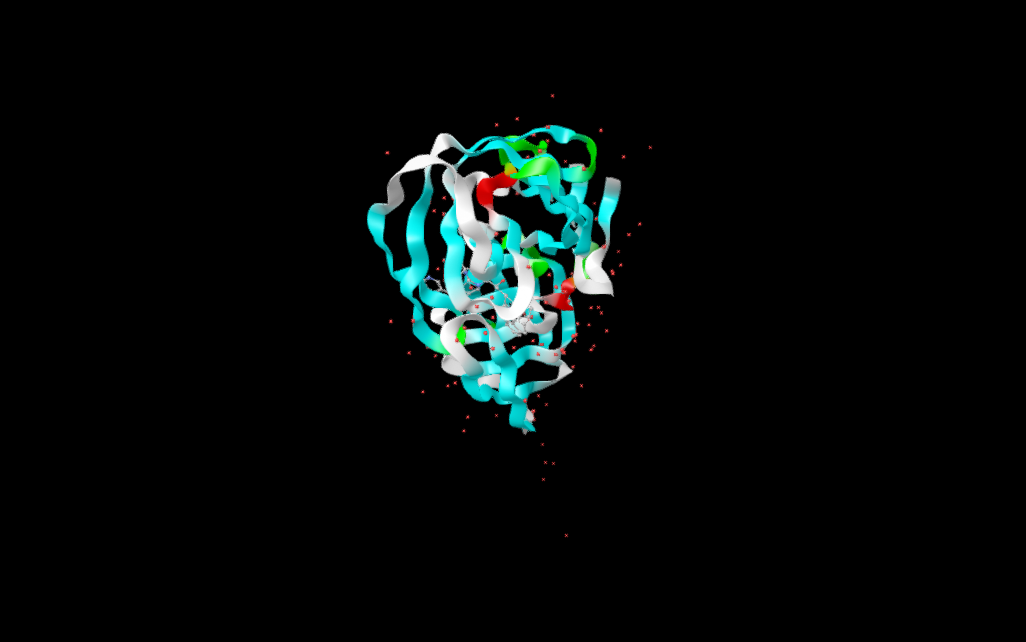
| Ribbon | A smooth ribbon following the backbone. | A cleaner alternative to cartoon when the secondary structure is not the point. |
| Tube | A constant thickness tube along the backbone. | Showing the path of the chain without implying secondary structure. |
| Trace | A thin line through the alpha carbons. | Very large assemblies, or a background chain behind the one you care about. |
| Surface | A molecular surface. | The shape of a pocket, and how a compound sits inside it. |
The ten representations, side by side
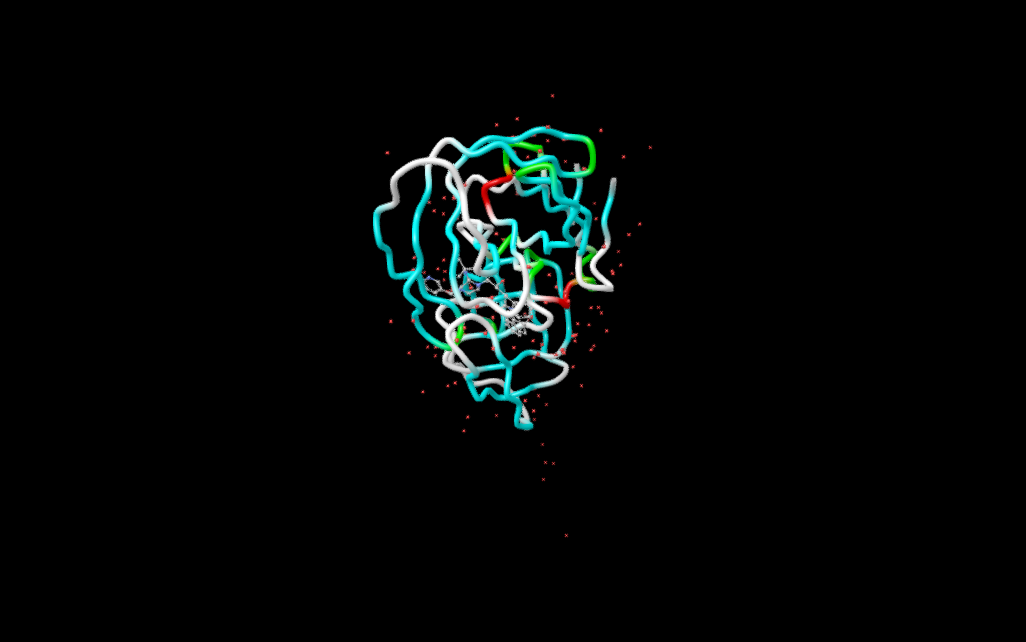
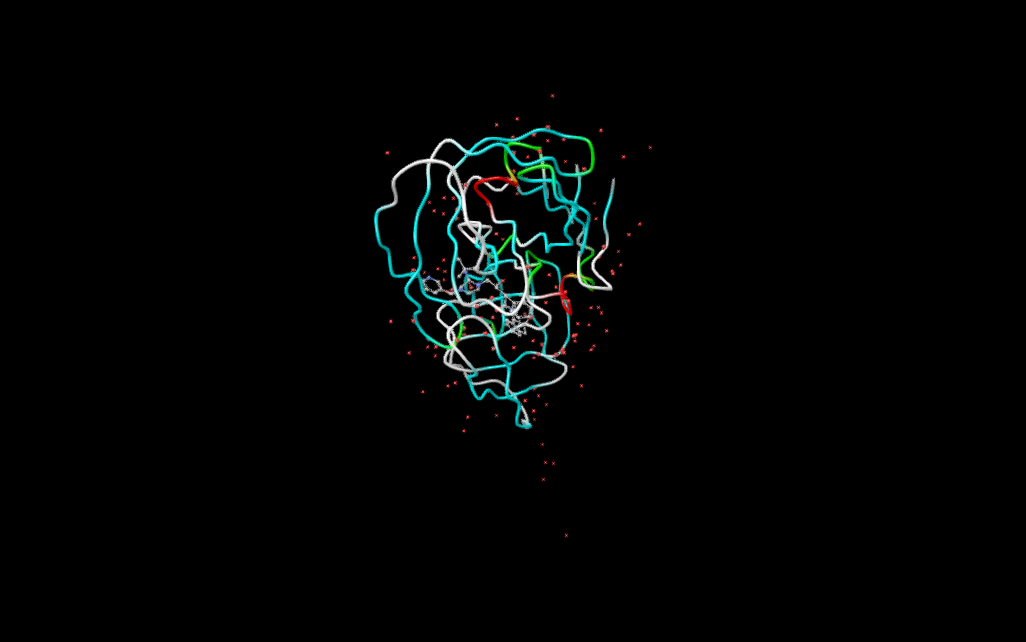
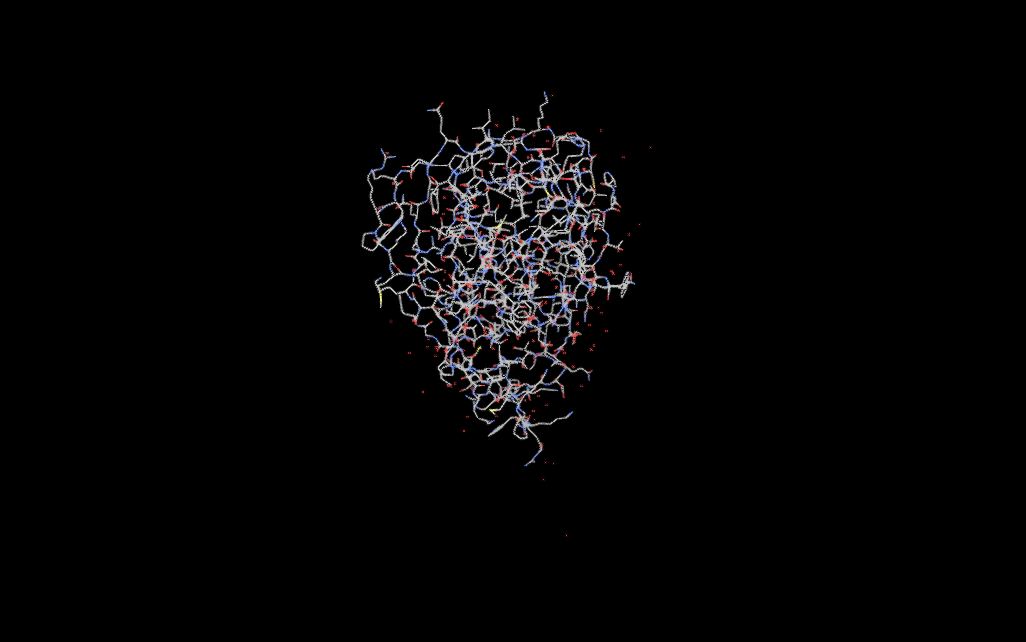
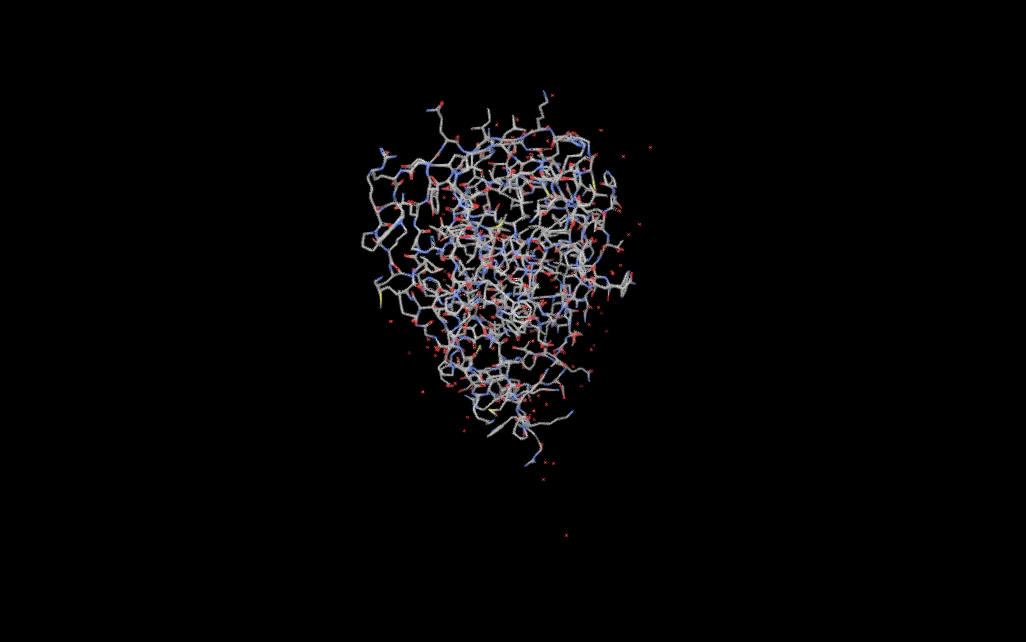
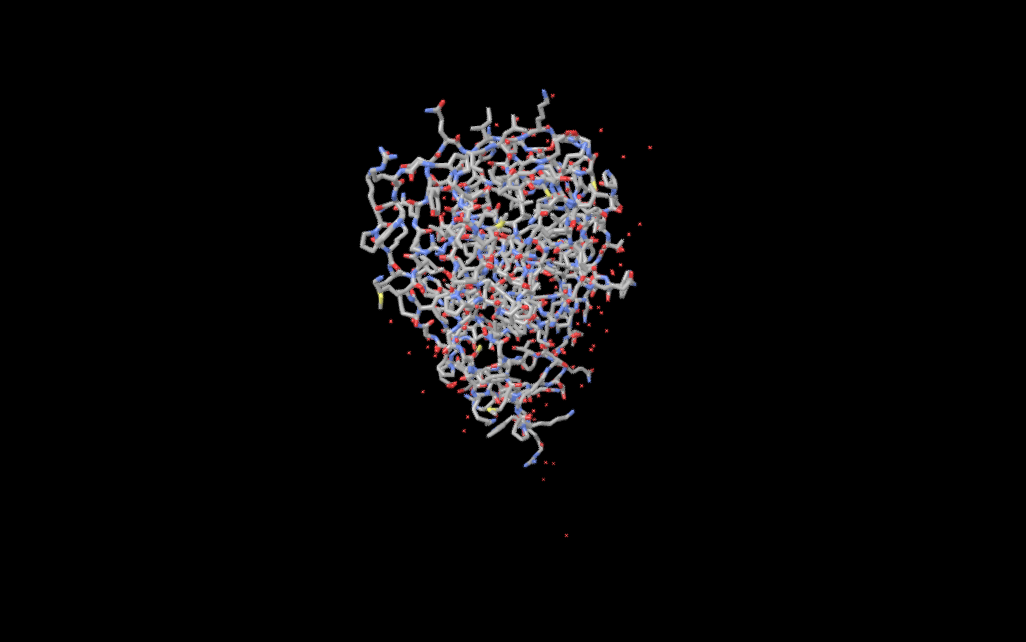
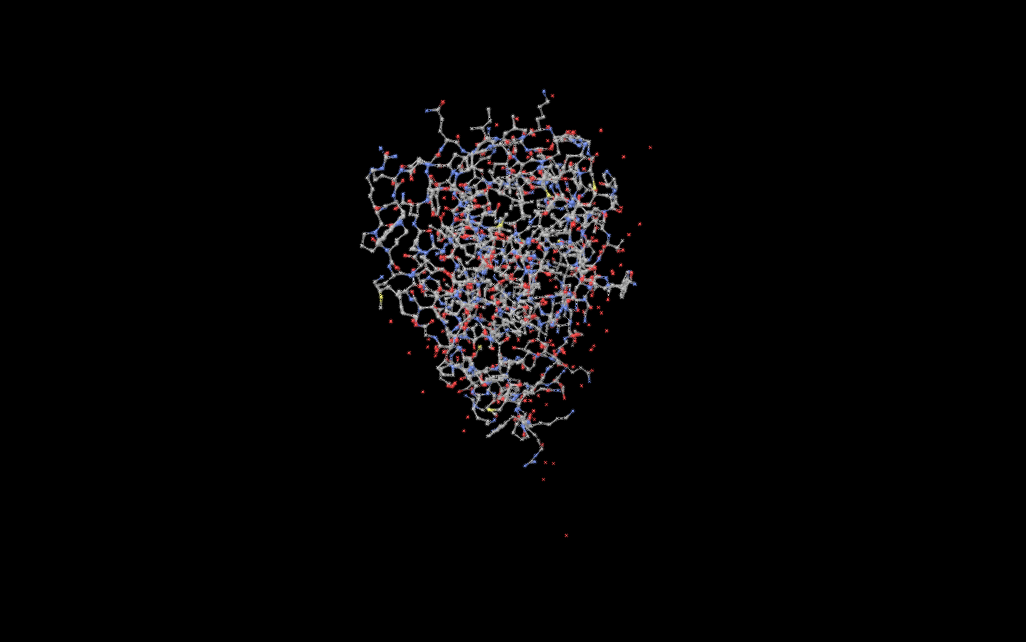
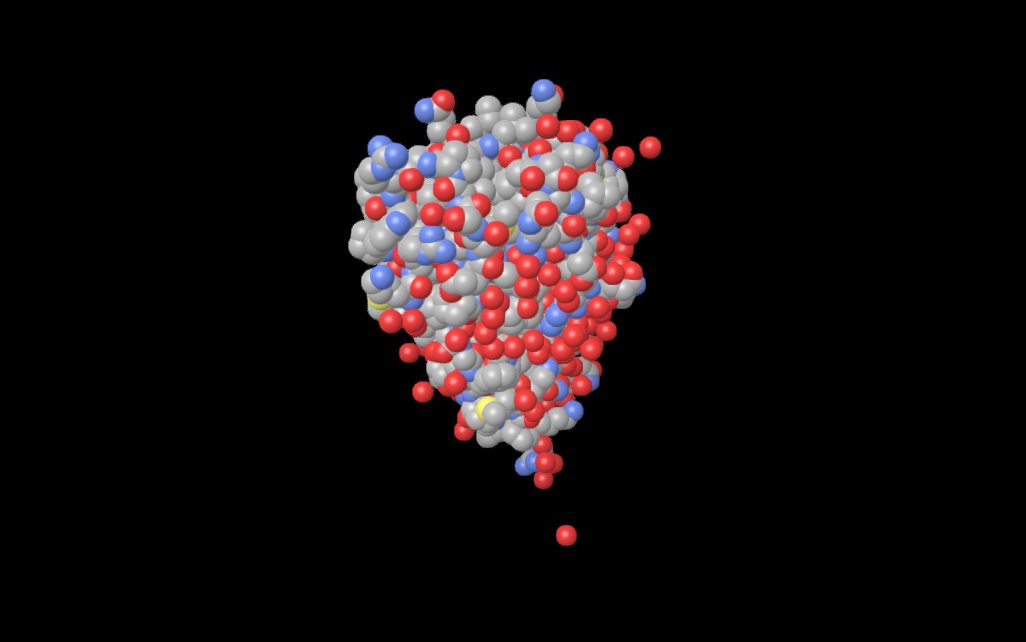
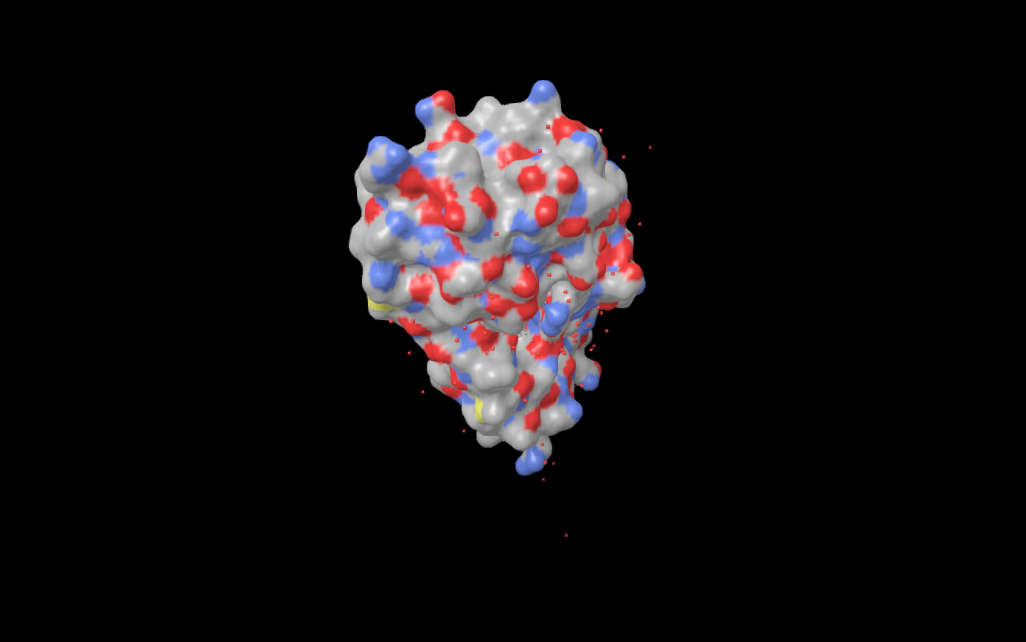
Surface types
When the surface style is active, View › Surface Type chooses which surface is computed.
| Type | What it is |
|---|---|
| Solvent-Excluded (SES) | The surface a rolling solvent probe cannot pass through. This is the one that best represents the shape of a pocket, and the usual choice. |
| Solvent-Accessible (SAS) | The surface traced by the centre of that probe. Larger and smoother than the excluded surface. |
| van der Waals | The union of the atomic spheres, with no probe at all. |
| Gaussian | A smoothed approximation. Faster to compute and easier to read on a very large structure. |
Colouring
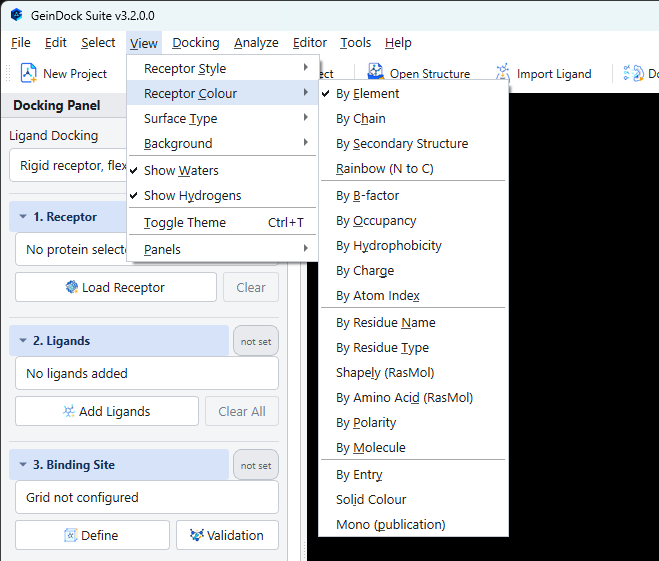
View › Receptor Colour offers eighteen schemes. The colour carries as much information as the shape, so choosing it deliberately is worth the moment it takes.
| Scheme | What the colour means |
|---|---|
| By Element | Standard atomic colours. The default for small molecules. |
| By Chain | One colour per chain. The first thing to reach for on a multimer. |
| By Secondary Structure | Helices, sheets and loops in different colours. The usual partner to the cartoon style. |
| Rainbow (N to C) | A spectrum from the start of the chain to the end, which makes the direction of the fold visible. |
| By B-factor | How mobile or poorly ordered each atom is in the crystal. High values in a binding site are a warning that the coordinates there are less reliable. |
| By Occupancy | How fully each atom is occupied, which flags alternate conformations. |
| By Hydrophobicity | Residue character. Useful for judging whether a pocket suits a greasy compound. |
| By Charge | Formal charge, which is the quickest way to see where a charged group could go. |
| By Atom Index | Position in the file, which is a diagnostic tool rather than a figure. |
| By Residue Name and By Residue Type | Identity and class of each residue. |
| Shapely and By Amino Acid | Two long established residue colour conventions, for consistency with older figures. |
| By Polarity | Polar against non polar. |
| By Molecule and By Entry | One colour per molecule or per loaded file, which is how to tell a docked pose from the receptor at a glance. |
| Solid Colour | A single colour throughout. |
| Mono (publication) | A greyscale scheme for figures that must print without colour. |
Background and appearance
View › Background offers black, white, grey or a colour of your own. Black is the default and is easiest on screen; white is what a printed figure usually needs.
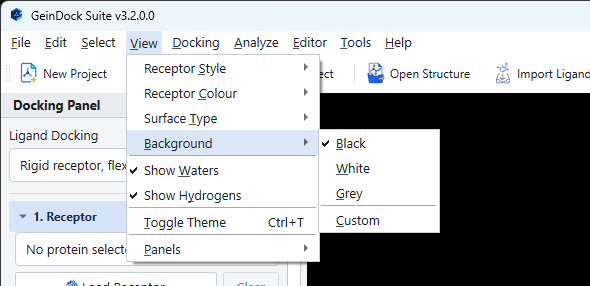
View › Show Waters and Show Hydrogens toggle those two classes of atom, which are the two most common sources of visual clutter. View › Toggle Theme, or Ctrl+T, switches the whole application between its light and dark appearances.
Measuring
Analyze › Measure Tool, or M, turns clicks into measurements: two atoms give a distance, three give an angle, four give a dihedral. Each measurement is drawn and labelled in the viewer and stays there until you clear it with Analyze › Clear Measurements.
Exporting a figure
File › Screenshot, or F12, saves the 3D view as a PNG image. There is no size to choose: the picture is the size the view has on screen, drawn at twice that size first and then reduced so that edges come out smooth. For a figure with more pixels, enlarge the window before you take it. The toolbar carries the same command.